Skip to content
本页目录


ThingsKit物联网平台

开箱即用的物联网低代码平台

1.目录说明

部署包的目录和重要文件说明。

物联网平台服务端

scada.war:组态部署包(需要去社区VIP专区获取)

web_server:物联网平台服务端

conf:配置文件夹

data: 数据目录文件

bin: ThingsKit物联网平台的管理脚本文件。例如:启动、停止、重启等。

linux.sh :linux操作系统的管理脚本

windows.bat:windows操作系统的管理脚本

web_ui.rar:物联网平台管理页面部署包

README.pdf:安装部署说明文档

2.前置条件

服务器配置

参考配置:[hingsKit运行环境要求]

软件

部署ThingsKit物联网平台之前,我们需要预先准备好相关的运行环境。环境清单如下:

序号软件名称版本要求说明
1(必装)JDK(java)11.0.12及以上物联网平台服务端的运行命令
2(必装)golang1.19及以上物联网平台服务端加载器的编译命令
3(必装)postgresql12.2及以上物联网平台存储数据的数据库。
4(必装)nginx1.23及以上运行物联网平台管理页面和负责代理的Web服务器
5(必装)tomcat8.5及以上运行组态的Web服务器,如果不需要组态,可以不用安装
6(可选)minio2021-07-12及以上物联网平台存储图片的工具,影响图片上传功能。

端口

ThingsKit物联网平台使用的默认端口如下,我们可以根据自己实际情况调整。

序号端口端口说明
120638数据库,postgresql
29000、9001多媒体资源文件存储,minio
39527物联网平台管理页面端口
48080物联网平台服务端端口
59528组态服务
61883设备接入之MQTT协议
75683设备接入之CoAP协议
88088设备接入之TCP协议

https://community.thingskit.com/question/21.html)

3.部署物联网平台服务端

创建数据库

利用数据库管理工具(例如:navicat),远程连接数据库。执行命令创建数据库实例thingsKit

sql


CREATE DATABASE "thingskit" WITH OWNER "postgres" ENCODING 'UTF8' LC_COLLATE = 'en_US.UTF-8' LC_CTYPE = 'en_US.UTF-8' TEMPLATE template0;

1
2
3
4

执行命令后生成数据库信息如下图:

image-20230516145229810

修改启动脚本文件

根据自生操作系统修改脚本文件内的环境变量,具体修改内容如下:

shell
#################################
#########必须修改的配置内容#########
#################################

#基于部署包存放位置,填写对应的绝对路径
SET BASE=W:\_publish\web_server
#数据库配置信息
set SPRING_DATASOURCE_URL=jdbc:postgresql://localhost:20638/thingskit
set SPRING_DATASOURCE_USERNAME=postgres
set SPRING_DATASOURCE_PASSWORD=thingskit


###################################
#########选择性修改的配置内容#########
###################################
set ZOOKEEPER_ENABLED=false
set CACHE_TYPE=caffeine
set TB_QUEUE_TYPE=in-memory
rem cassandra, sql, or timescale (for hybrid mode, DATABASE_TS_TYPE value should be cassandra, or timescale)
set DATABASE_TS_TYPE=sql
set DATABASE_TS_LATEST_TYPE=sql

set MINIO_URL=http://localhost:9000
set MINIO_NAME=thingskit
set MINIO_PWD=thingskit


1
2
3
4
5
6
7
8
9
10
11
12
13
14
15
16
17
18
19
20
21
22
23
24
25
26
27
28
29
30
31
32
  • 配置的环境变量的值不能有空白字符。
  • 配置的环境变量的值不能有空白字符。
  • 配置的环境变量的值不能有空白字符。

如果出现空白字符,服务端启动的时候会卡死。无法访问。

启动ThingsKit物联网平台

进入部署包的脚本目录,如下图。

image-20230213151045738

脚本文件赋权(linux)

在执行脚本文件之前,需要赋予执行权限。

shell
chmod +x linux.sh                #linux系统赋权
1

运行脚本文件

执行脚本文件会弹出对应的操作类型,例如:初始化数据库、启动应用、停止应用等。

yaml
    
#################################
#########windows操作新系统#########
#################################
windows
     
     
#################################
#########linux操作新系统#########
#################################
./linux
     
1
2
3
4
5
6
7
8
9
10
11
12

脚本:初始化数据库

windows效果图:

image-20230228155649807

linux效果图:

image-20230302164632460

脚本:运行物联网平台服务端

windwos效果图:

image-20230228160027741

linux效果图:

image-20230302164755011

启动结果验证

物联网平台服务端,默认端口为8080。部署成功后,访问localhost:8080/swagger-ui.html效果如图:

image-20230213151421603

4.部署物联网平台组态(可选,如果不需要组态可以跳过这一步)

组态设计器部署war包属于社区VIP权益,请到社区开通会员后下载:点击了解更多

部署war包

将组态的war包scada.war上传到tomcat的工作目录。

image-20230213151729823

重启Tomcat

部署包上传后,启动或重启Tomcat服务器。

启动结果验证

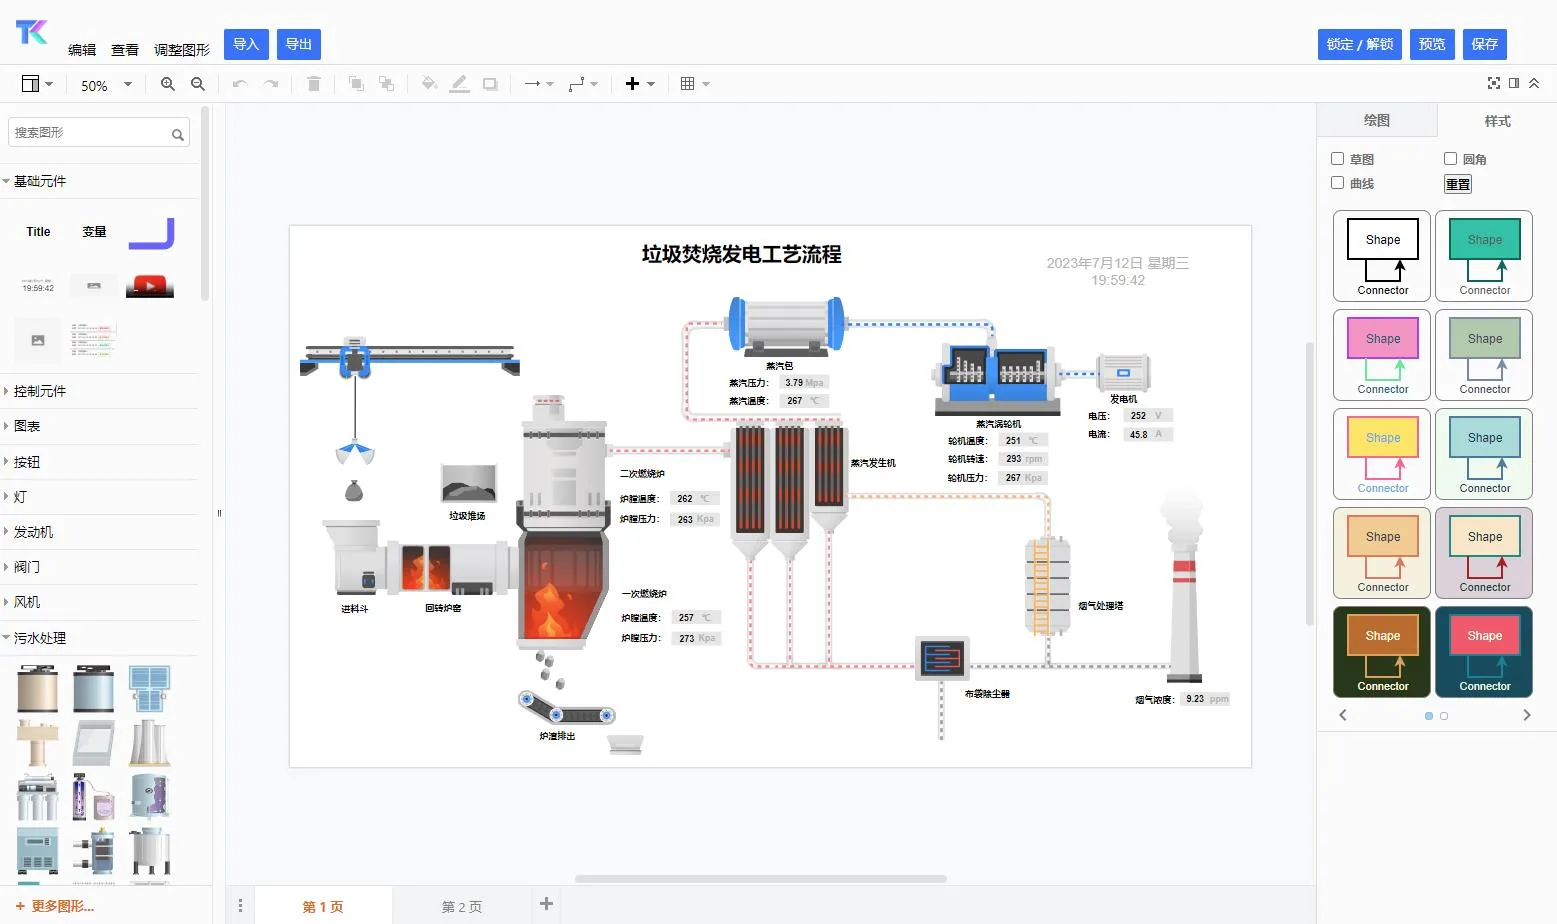
部署成功后,访问localhost:9528/scada,查看组态效果如下:

image-20230213171428936

5.部署物联网平台前端(管理入口)

前端部署包需要解压后,部署到nginx的工作目录。

修改nginx配置

将如下内容添加到nginx配置文件nginx.conf中。

nginx
#user  nobody;
worker_processes  1;

#error_log  logs/error.log;
#error_log  logs/error.log  notice;
#error_log  logs/error.log  info;

#pid        logs/nginx.pid;


events {
    worker_connections  1024;
}


http {
    include       mime.types;
    default_type  application/octet-stream;

    client_max_body_size 50m;


    #log_format  main  '$remote_addr - $remote_user [$time_local] "$request" '
    #                  '$status $body_bytes_sent "$http_referer" '
    #                  '"$http_user_agent" "$http_x_forwarded_for"';

    #access_log  logs/access.log  main;

    sendfile        on;
    #tcp_nopush     on;

    #keepalive_timeout  0;
    keepalive_timeout  65;

    map $http_user_agent $samesite_attr {
        "~*chrome"	';Secure;SameSite=None';
    }

    #gzip  on;
    gzip on;
    gzip_min_length 500k;
    gzip_comp_level 9;
    gzip_types text/plain application/javascript application/x-javascript text/css application/xml text/javascript application/x-httpd-php image/jpeg image/gif image/png;
    gzip_vary on;
    gzip_disable "MSIE [1-6]\.";
    
#    upstream thingskit{
#      server 127.0.0.1:8080;
#    }

    proxy_cache_path /usr/cache/nginx levels=1:2 keys_zone=thingskit:100m inactive=15d max_size=10g;
    server {
        listen       9527;
        server_name  localhost;
        charset utf-8;
        #access_log  logs/host.access.log  main;

        location / {
            root   /usr/share/nginx/html;
            index  index.html index.htm;
            try_files $uri $uri/ /index.html;
        }
        location /large-designer {
            alias   /usr/share/nginx/dataview;
            index  index.html index.htm;
            try_files $uri $uri/ /index.html;
           # add_header Cache-Control "no cache,no store";
        }
		
	    location /api/ {
	        proxy_set_header Host $http_host;
            proxy_set_header X-Forward-For $remote_addr;
            proxy_pass  http://访问服务的IP或域名:8080/api/;
            proxy_ssl_server_name on;
        
	    }
        location /thingskit-scada/ {
            proxy_set_header Host $http_host;
            proxy_set_header X-Forward-For $remote_addr;
            proxy_pass  http://访问服务的IP或域名:9528/;
                      
        }
        location /thingskit-scada/js/ { 
		  proxy_cache thingskit;                     #缓存
		  proxy_cache_key $uri$is_args$args;   #缓存文件名生成算法
		  proxy_cache_min_uses 1;              #被访问多少次才缓存		  
		  proxy_cache_valid 200 304 12h;  #特定缓存时效:专指(h:小时,d:天)
		  expires 30d;                     #默认缓存时效:通用(h:小时,d:天)			
                  proxy_set_header Host $http_host;
                  proxy_set_header X-Forward-For $remote_addr;
		  proxy_redirect off;
		  proxy_pass  http://访问服务的IP或域名:9528/js/;
        }

        location /api/ws/ {
	       proxy_pass              http://访问服务的IP或域名:8080/api/ws/;
           #下面三行是重点
           proxy_http_version      1.1;
           proxy_set_header Upgrade $http_upgrade;
           proxy_set_header Connection "upgrade";
           proxy_connect_timeout  5s;
           proxy_read_timeout  300s;
           proxy_send_timeout  300s;
       
        }

        #error_page  404              /404.html;

        # redirect server error pages to the static page /50x.html
        #
        error_page   500 502 503 504  /50x.html;
        location = /50x.html {
            root   html;
        }
    }


    # HTTPS server
    #
    server {
        listen       443 ssl;
        server_name  localhost;
        charset utf-8;

	   add_header X-Frame-Options ALLOWALL;
	
        ssl_certificate      /_makeFile/_cert/com.thingskit.pem;
        ssl_certificate_key  /_makeFile/_cert/com.thingskit.key;

        ssl_session_cache    shared:SSL:1m;
        ssl_session_timeout  5m;

        ssl_ciphers  HIGH:!aNULL:!MD5;
        ssl_prefer_server_ciphers  on;

        location / {
            root   /var/_workspace/web_ui;
            index  index.html index.htm;
            try_files $uri $uri/ /index.html;
        }
        location /large-designer {
            alias   /var/_workspace/data_view;
            index  index.html index.htm;
            try_files $uri $uri/ /index.html;
           # add_header Cache-Control "no cache,no store";
        }
	location /api/ {
	    proxy_set_header Host $http_host;
            proxy_set_header X-Forward-For $remote_addr;
            proxy_pass  http://访问服务的IP或域名:8080/api/;
            proxy_ssl_server_name on;
        
	}
        location /thingskit-scada/ {
            proxy_set_header Host $http_host;
            proxy_set_header X-Forward-For $remote_addr;
            proxy_pass  http://访问服务的IP或域名:9528/;
                      
        }
        location /thingskit-scada/js/ { 
		  proxy_cache thingskit;                     #缓存
		  proxy_cache_key $uri$is_args$args;   #缓存文件名生成算法
		  proxy_cache_min_uses 1;              #被访问多少次才缓存		  
		  proxy_cache_valid 200 304 12h;  #特定缓存时效:专指(h:小时,d:天)
		  expires 30d;                     #默认缓存时效:通用(h:小时,d:天)			
                  proxy_set_header Host $http_host;
                  proxy_set_header X-Forward-For $remote_addr;
		  proxy_redirect off;
		  proxy_pass  http://访问服务的IP或域名:9528/js/;
        }

        location /api/ws/ {
	   proxy_pass              http://访问服务的IP或域名:8080/api/ws/;
           #下面三行是重点
           proxy_http_version      1.1;
           proxy_set_header Upgrade $http_upgrade;
           proxy_set_header Connection "upgrade";
           proxy_connect_timeout  5s;
           proxy_read_timeout  300s;
           proxy_send_timeout  300s;
       
       }
#       location ^~ /openUrl/ {
#	  proxy_pass http://$arg_destip;
#       }
	
     }

}

1
2
3
4
5
6
7
8
9
10
11
12
13
14
15
16
17
18
19
20
21
22
23
24
25
26
27
28
29
30
31
32
33
34
35
36
37
38
39
40
41
42
43
44
45
46
47
48
49
50
51
52
53
54
55
56
57
58
59
60
61
62
63
64
65
66
67
68
69
70
71
72
73
74
75
76
77
78
79
80
81
82
83
84
85
86
87
88
89
90
91
92
93
94
95
96
97
98
99
100
101
102
103
104
105
106
107
108
109
110
111
112
113
114
115
116
117
118
119
120
121
122
123
124
125
126
127
128
129
130
131
132
133
134
135
136
137
138
139
140
141
142
143
144
145
146
147
148
149
150
151
152
153
154
155
156
157
158
159
160
161
162
163
164
165
166
167
168
169
170
171
172
173
174
175
176
177
178
179
180
181
182
183
184
185
186
187
188
189
190
191

部署包(可选):大屏设计器

将安装文件view.zip解压后,上传到服务器/var/_workspace/data_view目录。

部署包:管理界面

先将安装包dist.zip解压,上传到服务器/var/_workspace/web_ui目录。

解压后目录如图:

image-20230213152151331

修改前端配置文件

在前端配置文件web_ui/_app.config.js修改必要的配置参数。内容如下:

shell
VITE_GLOB_API_URL                                               #服务端API访问地址
VITE_GLOB_UPLOAD_URL                                            #服务端资源上传访问地址
VITE_GLOB_WEB_SOCKET                                            #服务端实时数据访问地址
VITE_GLOB_CONTENT_SECURITY_POLICY                               #是否启用SSL证书
     
1
2
3
4
5

image-20230213151950460

重启nginx

部署包上传并修改配置文件后,启动或重启nginx。

启动结果验证

物联网平台管理端,默认端口为9527。

*注意

  1. 如果切换了配置文件中的邮箱后缀ACCOUNT_EMAIL_SUFFIX,需要同步修改数据库表tb_user中字段email的邮箱后最。
  2. 验证平台是否安装成功,推荐使用浏览器**firefox**。使用chrome浏览器内核的浏览器有概率出现http协议自动转https的情况。

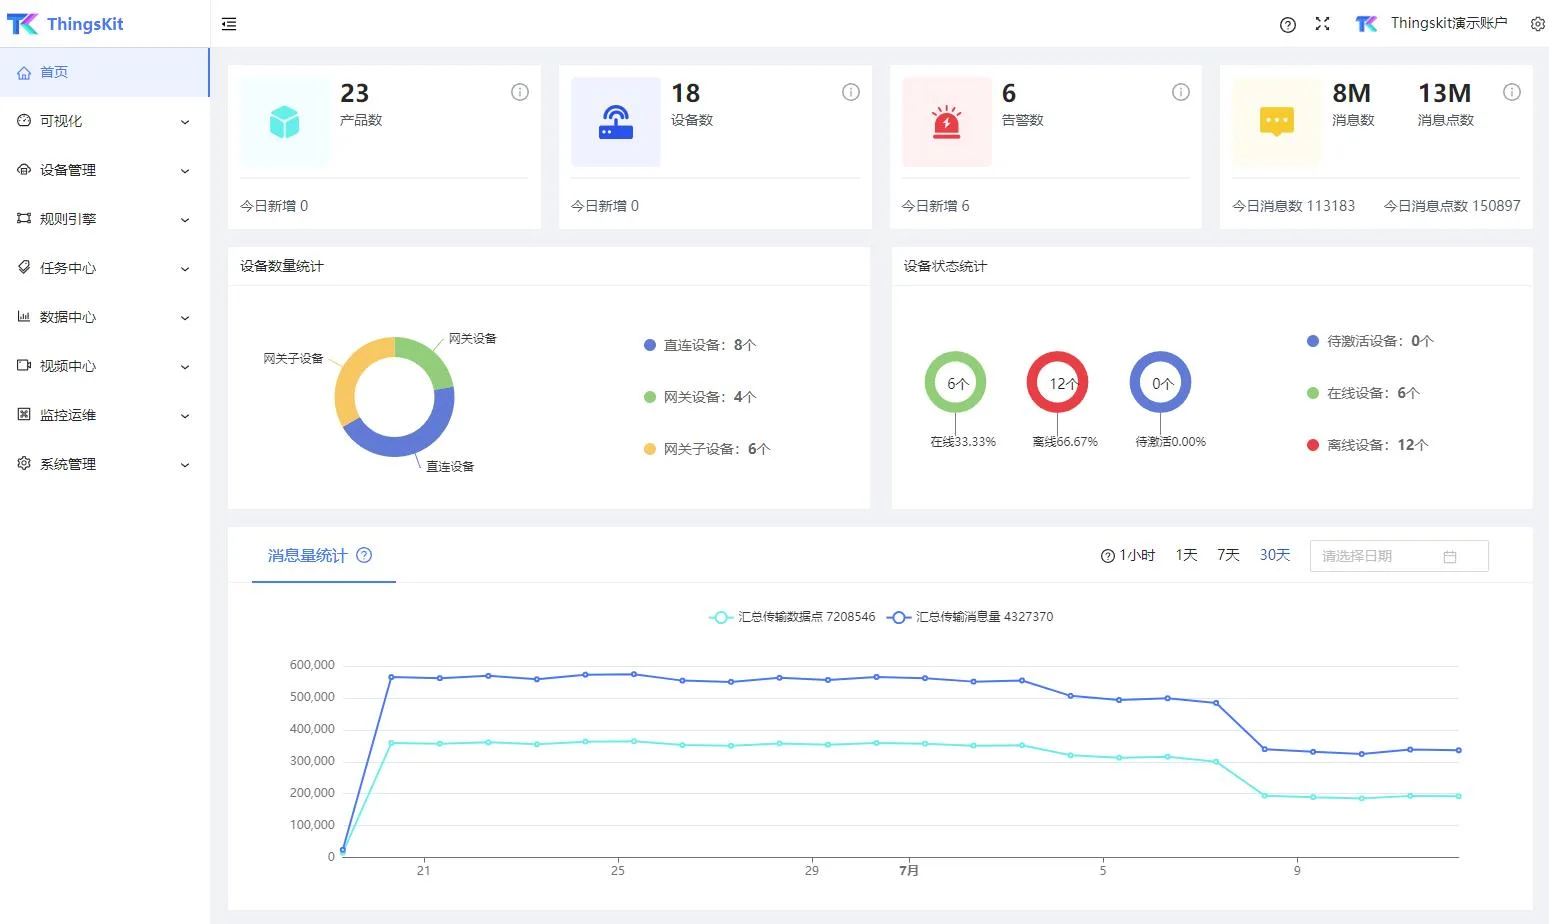
部署成功后,访问登录与效果图如下:

地址:http://localhost:9527

登录账号:sysadmin

登录密码:Sysadmin@123
1
2
3
4
5

image-20230213152238401

6.了解更多

线上文档地址:https://docs.thingskit.com/guide/install/community-jar.html

社区VIP专区:https://community.thingskit.com/zone/vip.html

如果安装或使用遇到问题,请到社区提问:https://community.thingskit.com